Printing
In preparation for our next flight, we spent this week working on the second generation parachute system.
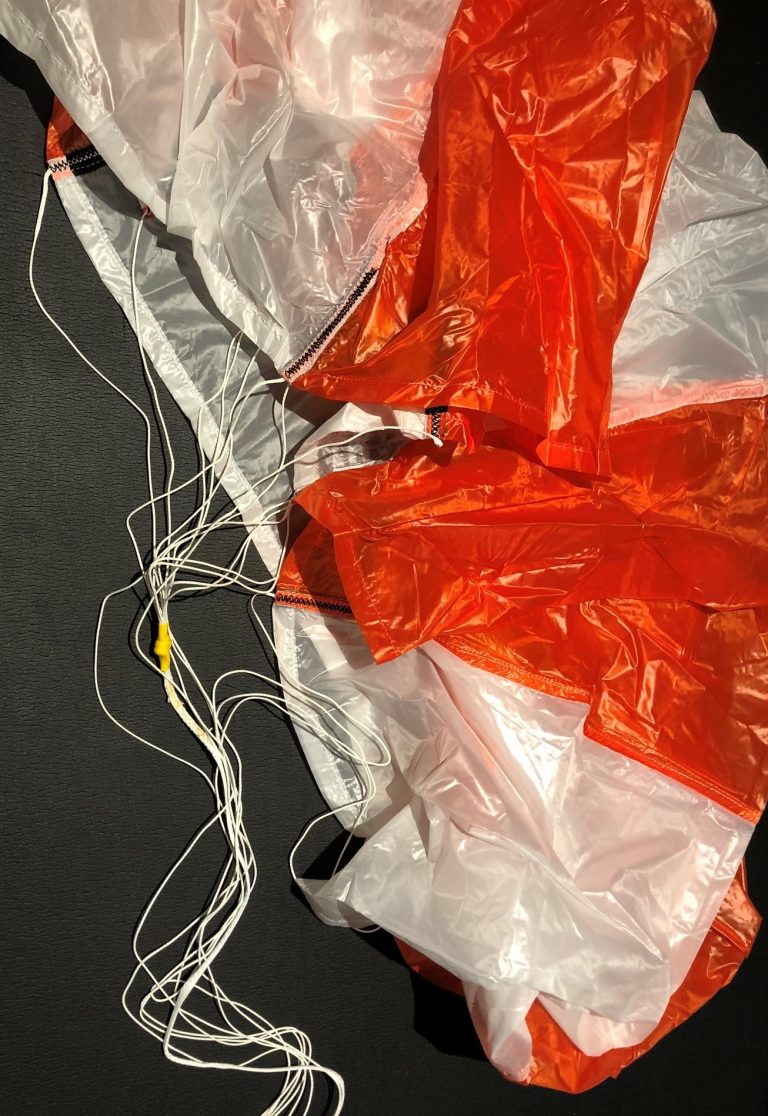
The second generation parachute system for the test payload will use four parachutes, two mains and two pilots (more about the parachutes here). The pilot chutes attach to the main chutes and will inflate with air more quickly, helping to deploy the much larger main chutes. In our previous tests of the first generation parachute system, (video of the first test here) we used a single large launcher powered by four springs. However, this system was too large, too weak and was only capable of launching a single parachute.
So we got to work designing the second generation parachute system with the following specs: simultaneous launch capabilities of four parachutes and a compact size of less than 10.5 x 10.5 cm (4.1 x 4.1 in). To begin, we had to find a way to fit the launchers of four parachutes in the same space that the previous model used to launch one. We started by upgrading the springs and increasing the height of the launch tubes which allowed us to fit both the main and pilot chutes in the same tube. This cut our number of required launchers in half. Fortunately, the parachutes are made out of nylon, which makes them very compressible. This allows them to fit into much smaller tubes, decreasing the size of the launchers even more. Our design was now within specs and we were ready to print.
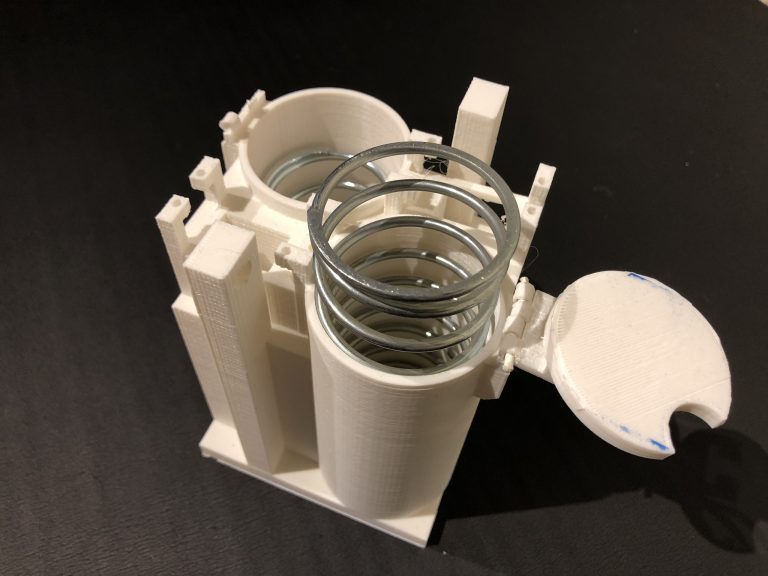
An important technology we use for Project Redirect is 3D printing. 3D printing allows us to make custom parts. 3D printing is not a fast process, because of this we try to split the part being printed into multiple smaller parts. This allows us to avoid very long print jobs. One example,
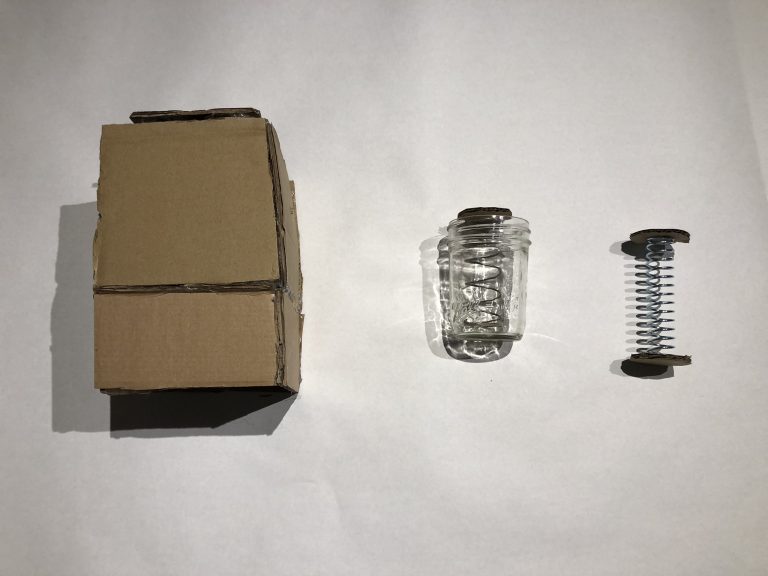
is the release mechanism we used in the first generation parachute system test.

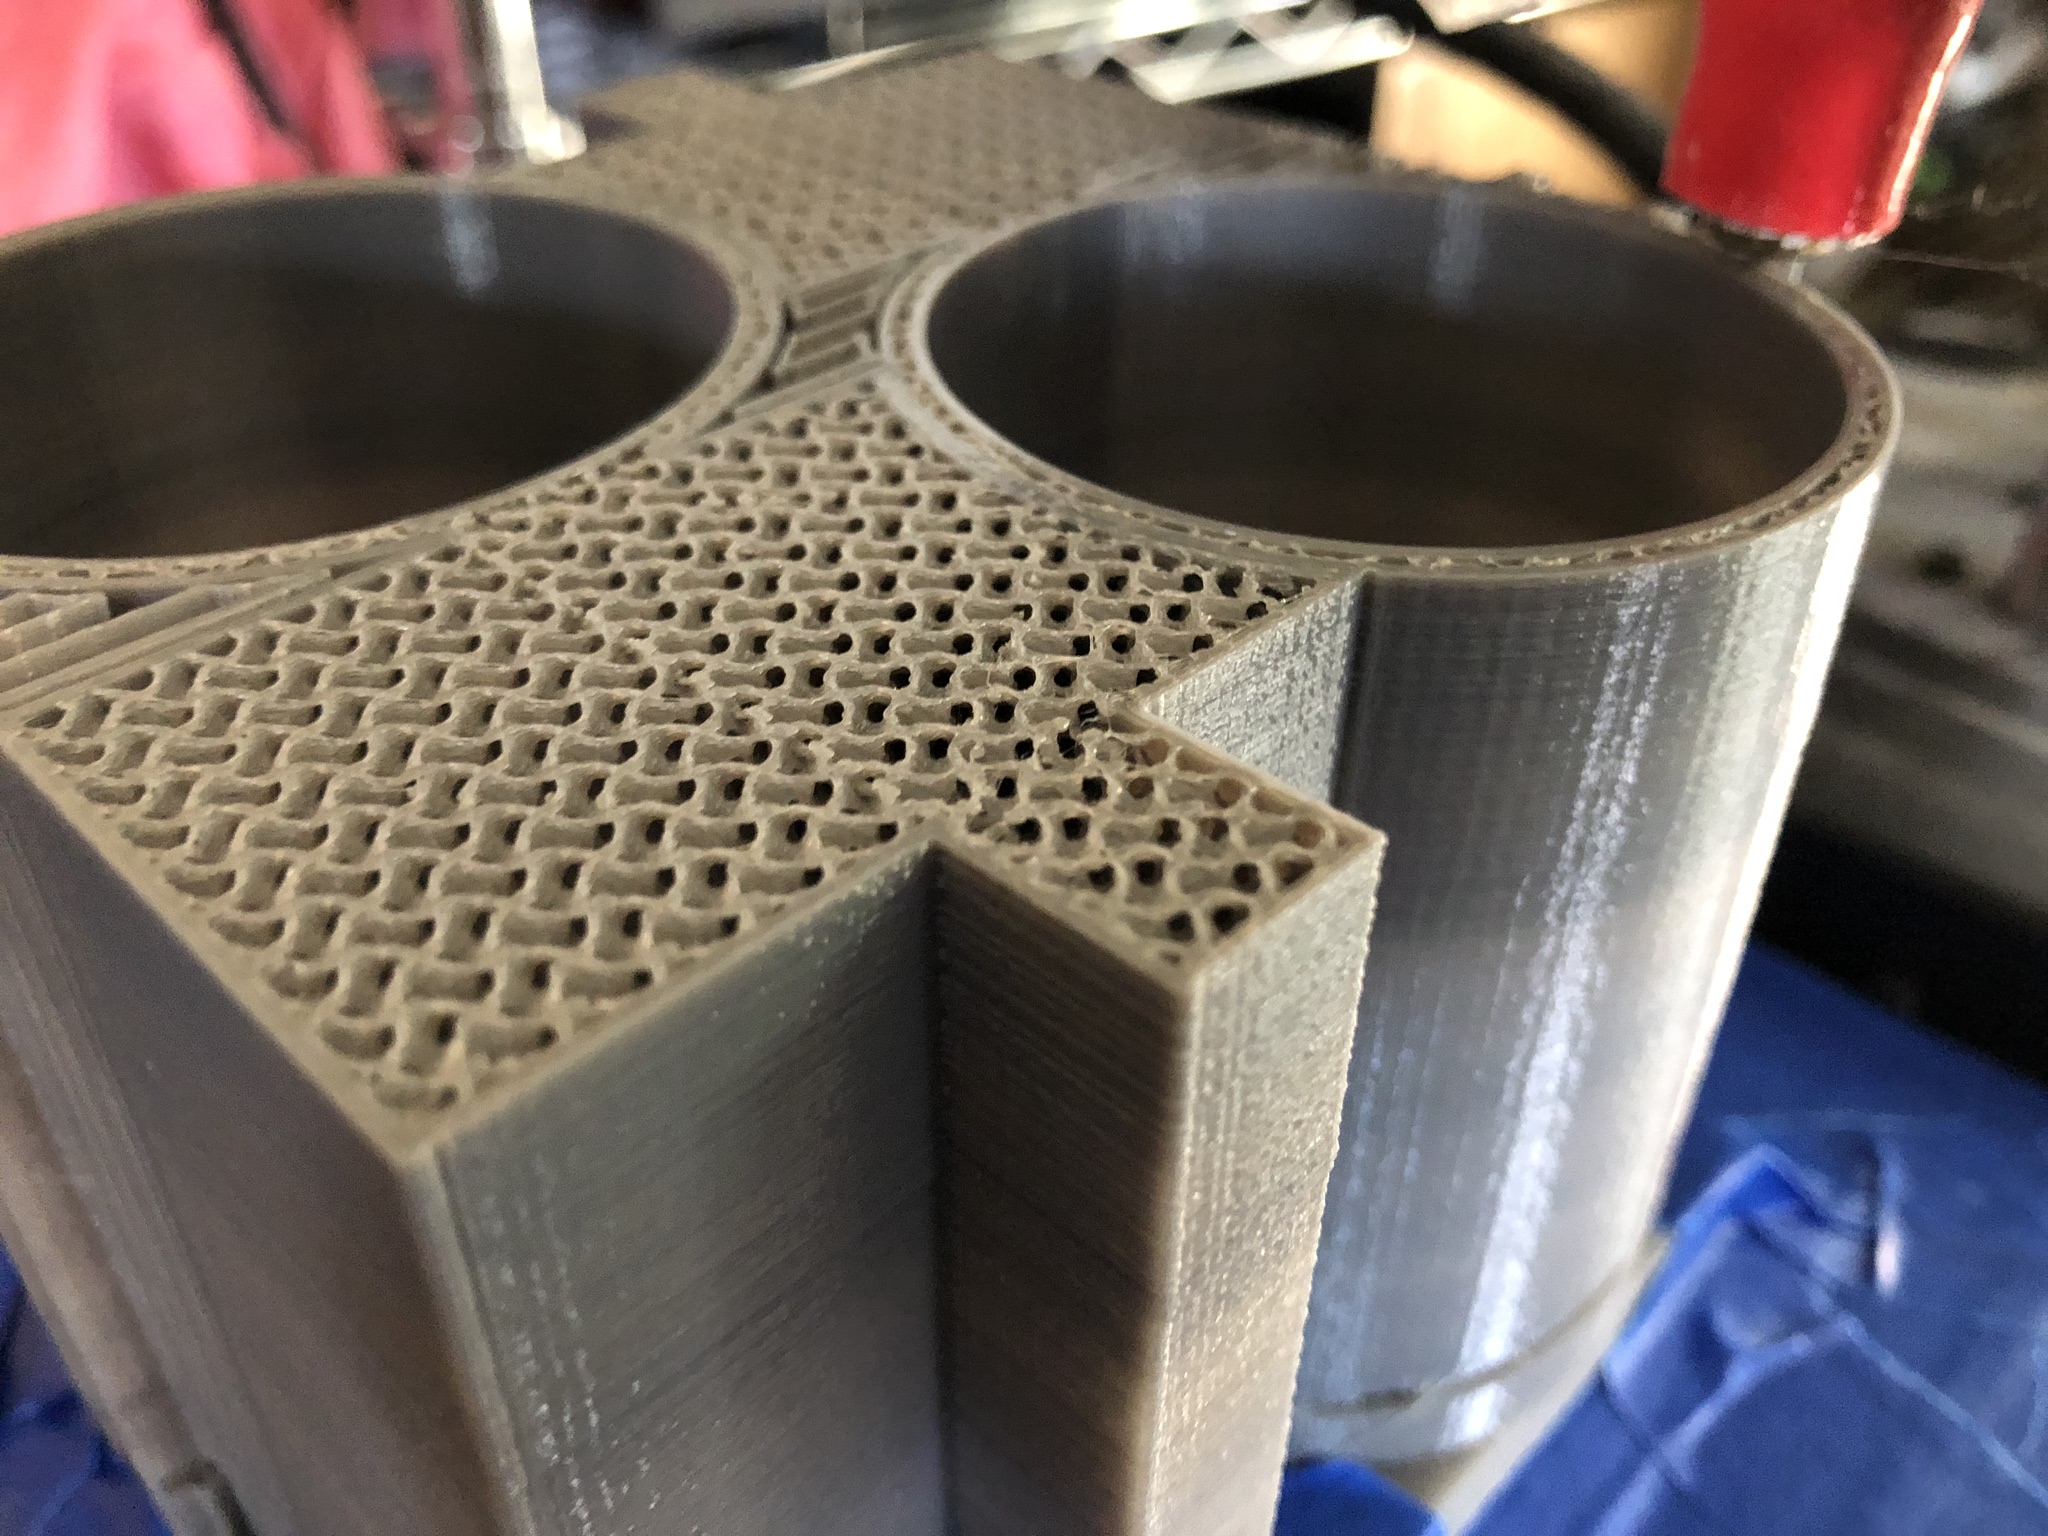
In total, the release mechanism took about 10 hours to print; ~5 hours when split into two pieces. For the second generation parachute system, we also we split the print into two parts. One of these two parts is the main body of the system including the two launchers. We did not want to split this part further to keep it as strong as possible. This large part takes over 2 days to print, making it our longest print ever attempted.
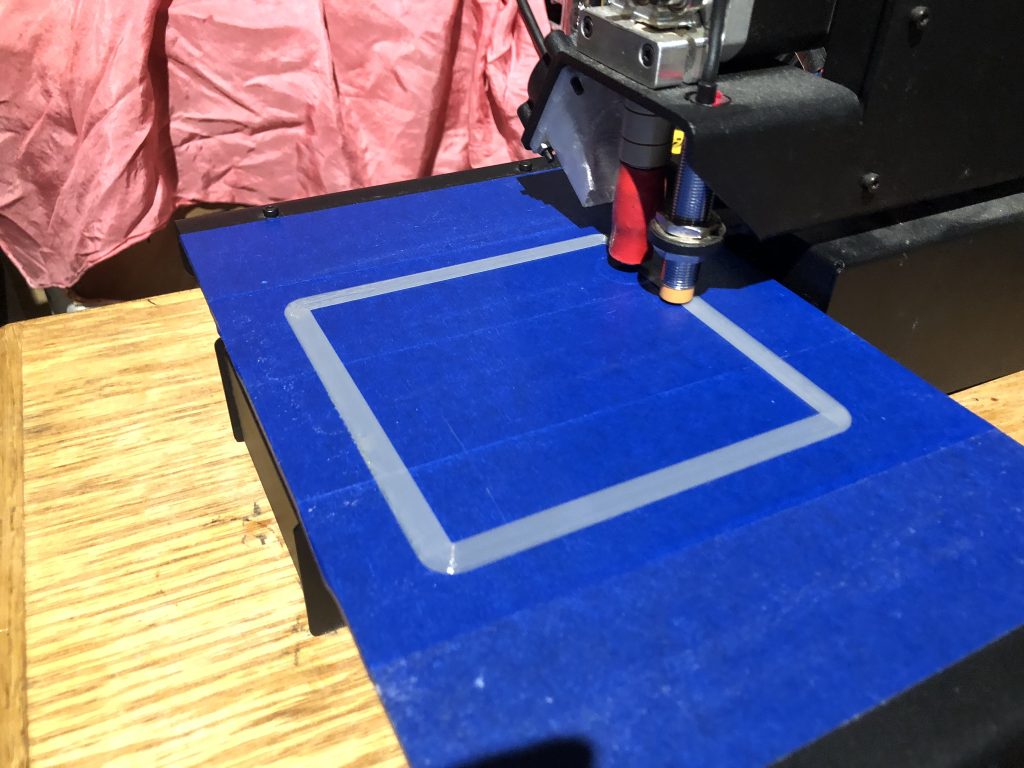
While we have completed many successful prints, a print of this length provides plenty of time and opportunities for something to go wrong. In an attempt to reduce the chance of failure, we set up some extra equipment before printing. We plugged the printer in to a UPS (Uninterruptible Power Supply) to prevent the print from stopping if we experienced a loss of power. We also set up a camera to allow us to check on the printer remotely.
Unfortunately, before we could even start the print, we were plagued by problems with the computer that controls the printer. Finally, hours later we were ready. All that was left to do was to start the print and hope for the best.
10:48 PM. Day 0 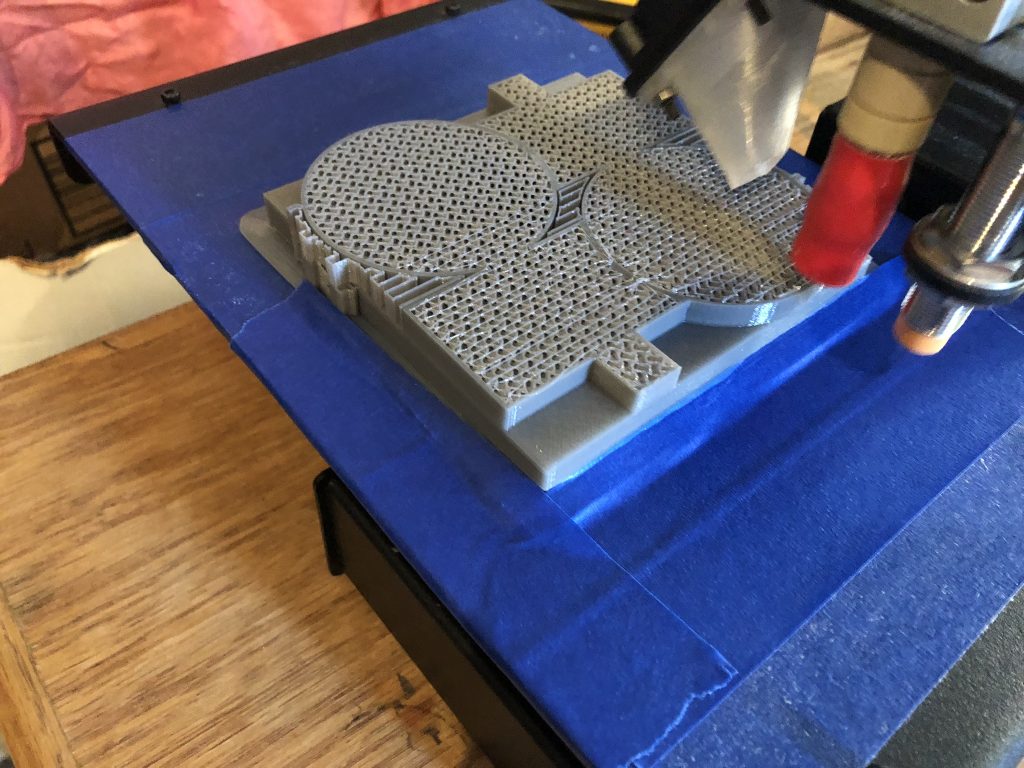
8:51 AM. Day 1 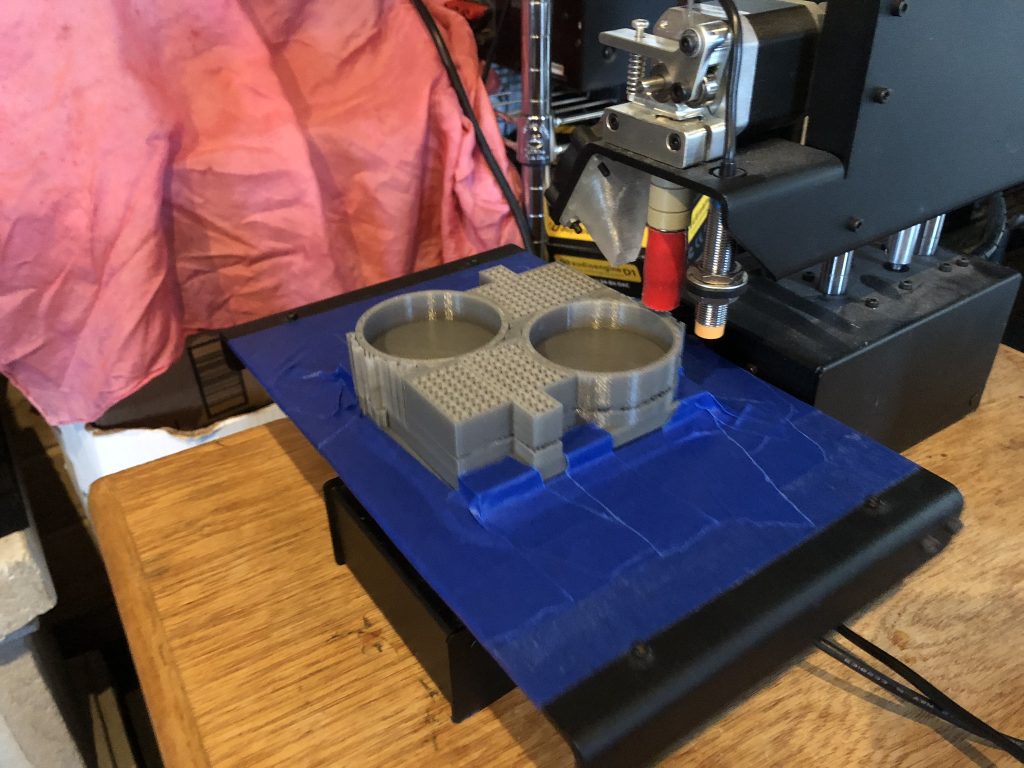
3:58 PM. Day 1 
11:15 AM. Day 2
Two days later, the print was nearing completion. 87% of the job was done. Unexpectedly, the printer flipped over mid print. We think this flip was caused by vibrations. While the printer continued moving, its filament was disconnected in the fall. Fortunately, the printer was not damaged but the incomplete parachute system was not salvageable. We had to start a new print.
But first, we tightened a belt on the printer and secured it to the table to prevent it from tipping again. We then started the print a second time.
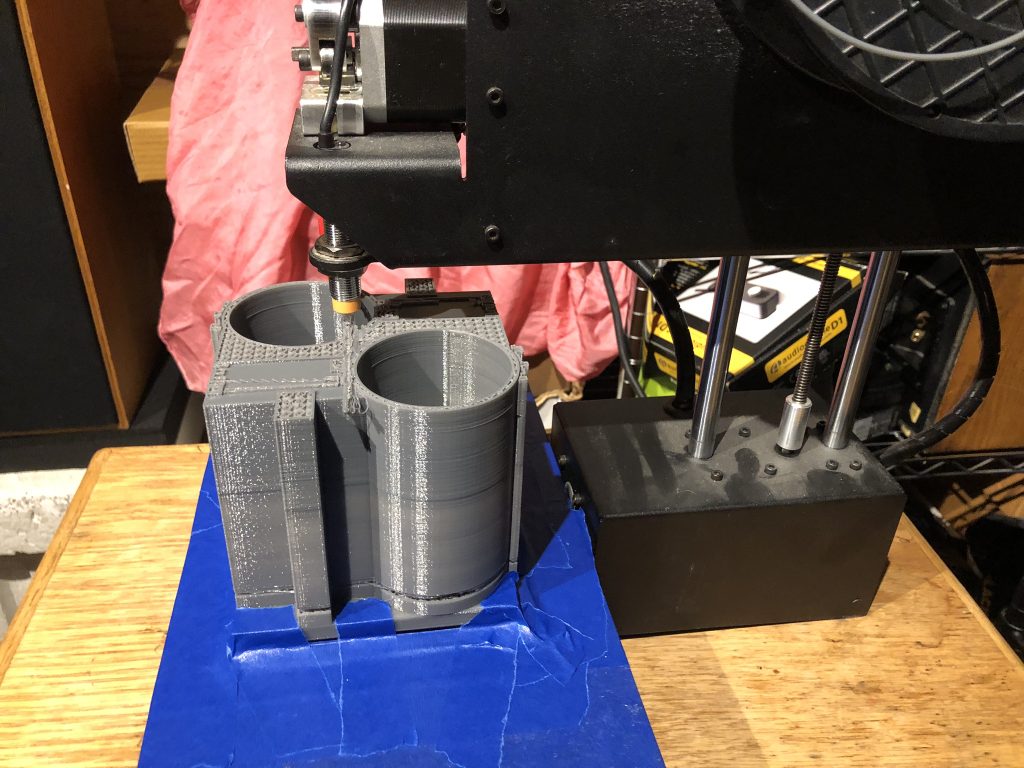
Two days later and hours away from completion, it failed again. This time a tangle in the filament caused it to break. The printer was still undamaged, but this failure caused another problem. After printing the parachute system twice, we are now low on filament, and will have to order more before we can print again.

More updates will follow….